jmtd → log → Terrain base for 3D castle
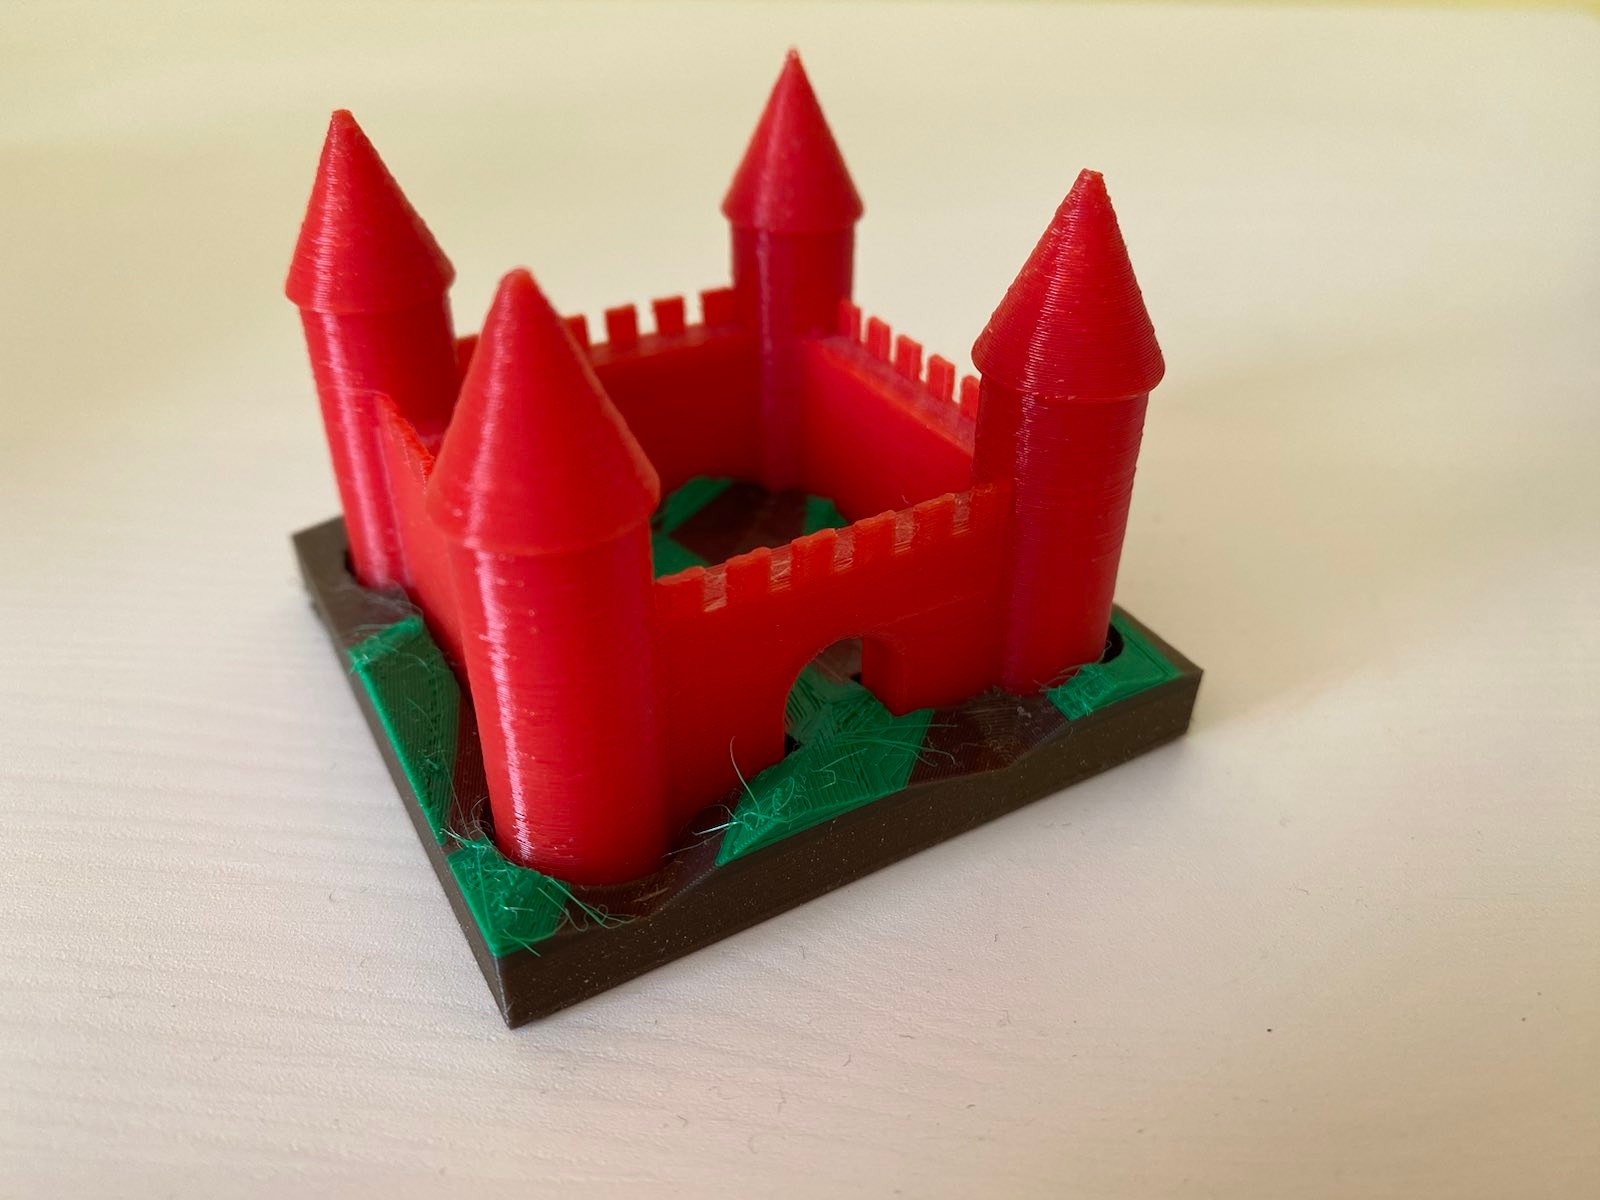
I designed and printed a "terrain" base for my 3D castle in OpenSCAD. The castle was the first thing I designed and printed on our (then new) office 3D printer. I use it as a test bed if I want to try something new, and this time I wanted to try procedurally generating a model.
I've released the OpenSCAD source for the terrain generator under the name Zarchscape.
mid 90s terrain generation
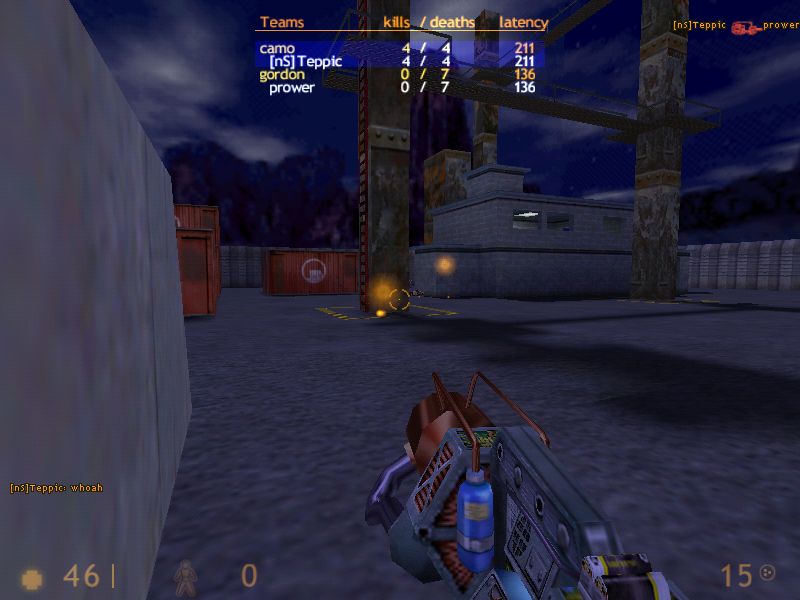
Lots of mid-90s games had very boxy floors
](./carpet_90s.jpg)
Terrain generation, 90s-style. From this article
Back in the 90s I spent some time designing maps/levels/arenas for Quake and its sibling games (like Half-Life), mostly in the tool Worldcraft. A lot of beginner maps (including my own), ended up looking pretty boxy. I once stumbled across an article blog post that taught my a useful trick for making more natural-looking terrain. In brief: tessellate the floor region with triangle polygons, then randomly add some jitter to the z-dimension for their vertices. A really simple technique with fairly dramatic results.
OpenSCAD
Doing the same in OpenSCAD stretched me, and I think stretched OpenSCAD. It left me with some opinions which I'll try to write up in a future blog post.
Final results
I've generated and printed the result a couple of times, including an attempt a multicolour print.
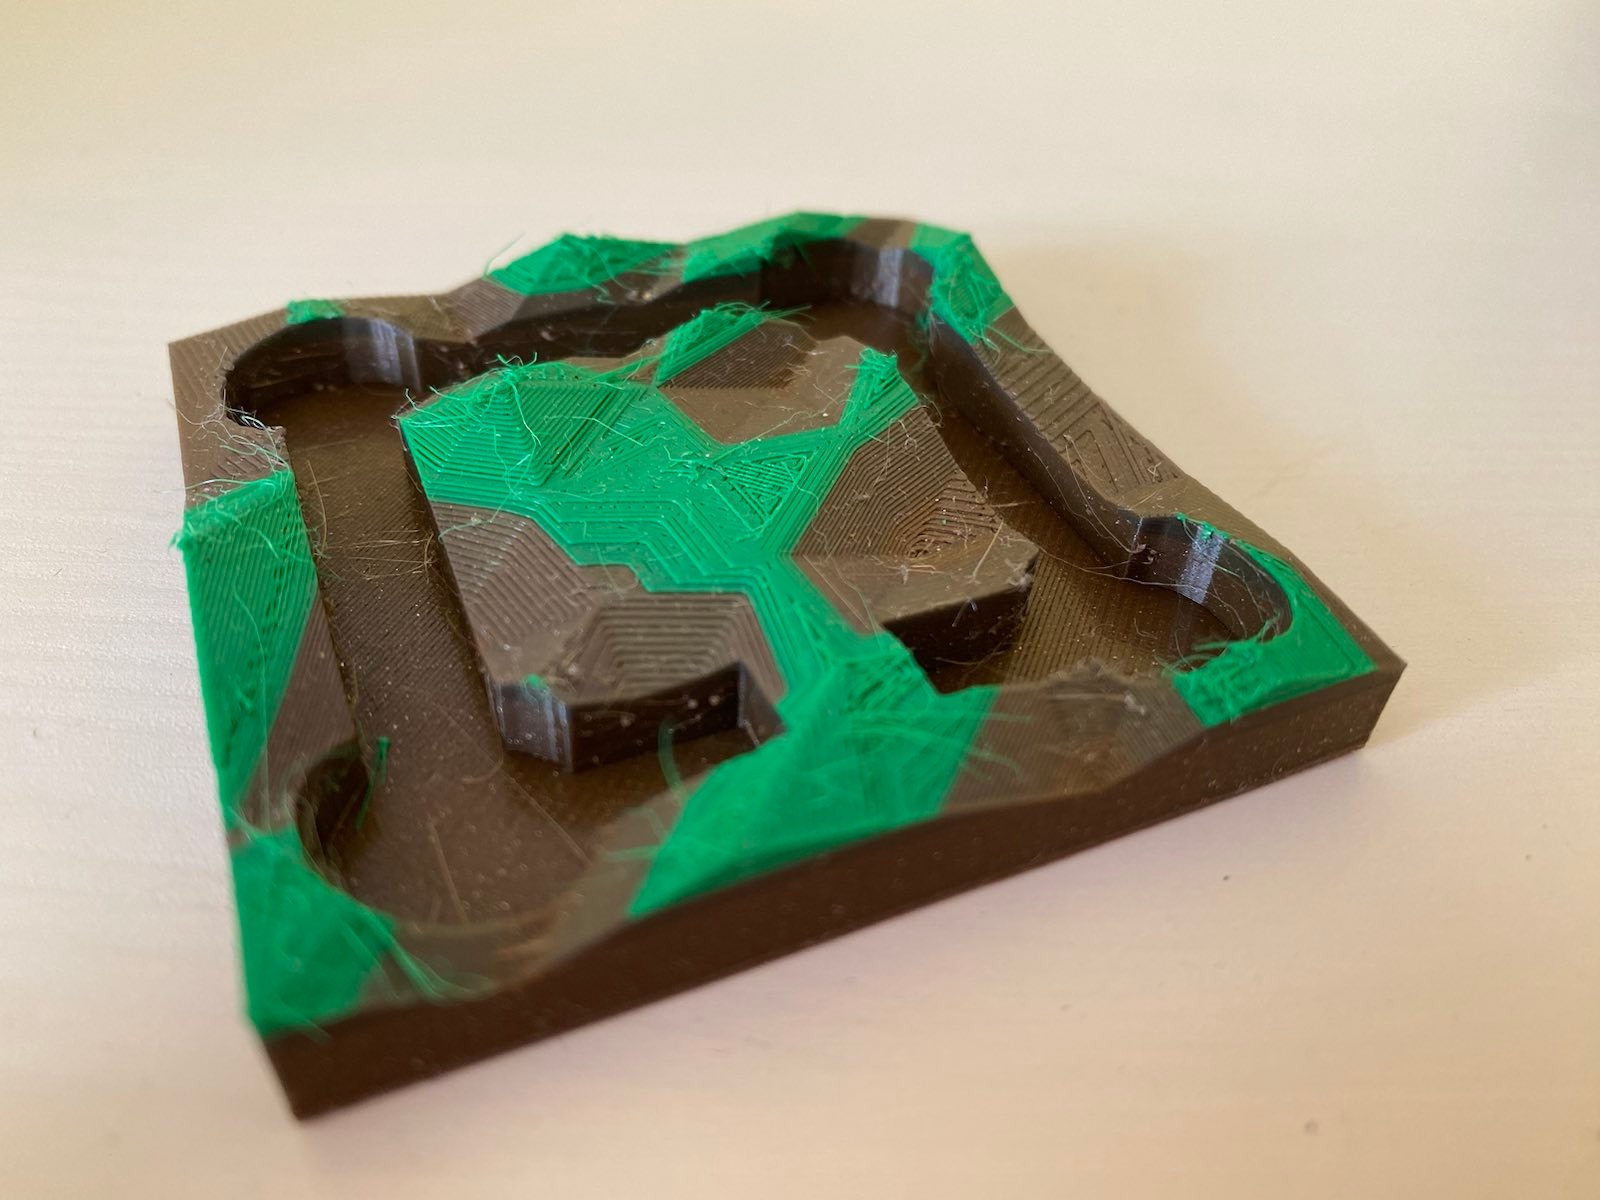
At home, I have a large spool of brown-coloured recycled PLA, and many small lengths of samples in various colours (that I picked up at Maker Faire Czech Republic last year), including some short lengths of green.
My home printer is a Prusa Mini, and I cheaped out and didn't buy the filament runout sensor, which would detect when the current filament ran out and let me handle the situation gracefully. Instead, I added several colour change instructions to the g-code at various heights, hoping that whatever plastic I loaded for each layer was enough to get the print to the next colour change instruction.
The results are a little mixed I think. I didn't catch the final layer running out in time (forgetting that the Bowden tube also means I need to catch it running out before the loading gear, a few inches earlier than the nozzle), so the final lush green colour ends prematurely. I've also got a fair bit of stringing to clean up.
Finally, all these non-flat planes really show up some of the limitations of regular Slicing. It would be interesting to try this with a non-planar Slicer.
Comments